If you have any questions that are beyond the scope of this help file, please feel free to contact me here.
Table of Contents
- HTML Structure
- CSS Files and Structure
- JavaScript
- Mailchimp Integration
- Nocaptcha Spam Prevention
- Analytics: Goals, Events & UTM Tracking
A) HTML Structure – top
This landing page is a full screen landing page built on top of bootstrap 3.0, Simple, Colorfull & Elegant.
Basic Setup:
Replace the default title with your title
line: 14
<!-- replace this title with your landing page title -->
<title>Landing Page</title>
Replace the google analytics number(UA-XXXXX-Y) with your google analytics number
line: 55
for more info: https://ga-dev-tools.appspot.com/account-explorer/
ga('create', 'UA-XXXXX-Y', 'auto');
Logo & Menu Setup:
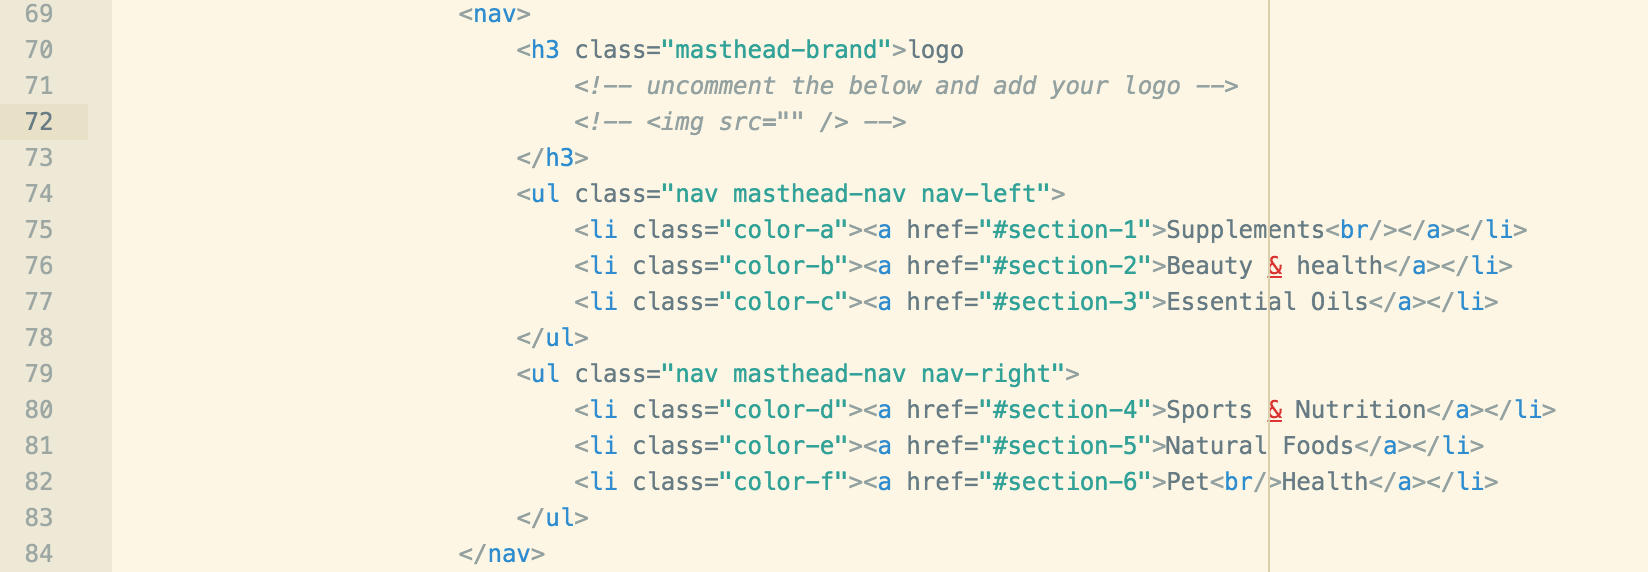
Replace the following with your text or logo:
<h3 class="masthead-brand">logo
	<!-- uncomment the below and add your logo -->
	<!-- <img src="" /> -->
</h3>
Example:
<h3 class="masthead-brand">
	<!-- uncomment the below and add your logo -->
	<!-- <img src="/img/logo.png" /> -->
</h3>
Replace the text in the menu items:
<li class="color-a"><a href="#section-1">Supplements<br/></a></li>
<li class="color-b"><a href="#section-2">Beauty & health</a></li>
<li class="color-c"><a href="#section-3">Essential Oils</a></li>
Incase you want to remove any of the menu items, you should also remove the section associated with this menu item:
<li class="color-a"><a href="#section-1">Supplements<br/></a></li>
Header:
line: 92
<h1 class="header-heading">TEXT TEXT TEXT</h1>
<p class="lead">TEXT TEXT TEXT TEXT TEXT TEXT TEXT TEXT TEXT</p>
<p class="lead">
	<a href="#section-1" class="btn btn-lg btn-default"> TEXT TEXT</a>
</p>
line: 105
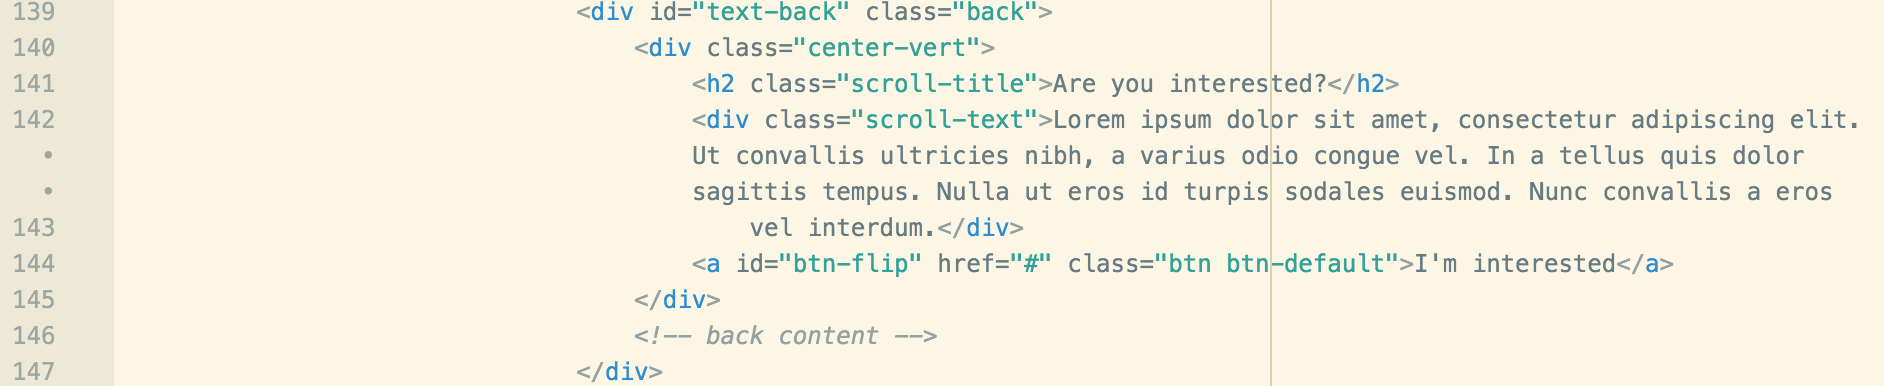
<div class="form-cont-mobile">
	<h2 class="scroll-title">Are you interested?</h2>
	<a id="btn-flip" href="#" class="btn btn-default">I'm interested</a>
</div>
line: 112

line: 140
Replace the image url with yours, recommeded size is w: 1920px and h: 1080px and less than 1MB in size for best result.
line: 50

Html Sections Setup:
This theme is based on sections and it will automatically adjust any new section added if it contains the same structure as the following
<section class="site-wrapper">
	<div class="site-wrapper-inner"></div>
</section>
The id in the section will reference the menu item, once a menu item is clicked with “#section-1″ the page will scroll to the section with ‘ id=”section-1” ‘
The “color-a” in the section will reference the color setup in the colors.css file under the css directory
The “data-title” in the section will change the title of the text at the back of the form once flipped
The “data-text” in the section will change the text at the back of the form once flipped
The “data-button” in the section will change the button text at the back of the form once flipped
Please note, if you don’t want the text to be replaced, then delete data-title, data-text and data-button
<section id="section-1" class="site-wrapper color-a" data-title="Text" data-text="TEXT TEXT" data-button="TEXT TEXT">
An empty section example:
<section id="section-8" class="site-wrapper color-f" data-title="TEXT" data-text="TEXT" data-button="TEXT">
	<div class=" site-wrapper-inner">
		<div class="container">
			<div class="row row-flex">
				<div class="col-md-3 col-sm-3 col-xs-12">
					<div class="image-effect">
						<div><img src="img/3.png" /></div>
						<div><img src="img/3.png" /></div>
					</div>
				</div>
				<div class="col-md-5 col-sm-5 col-xs-12">
					<div class="content">
						<h2>TEXT</h2>
						<span class="price"><del class="discount">$20</del> $15</span>
						<p>TEXT</p>
					</div>
				</div>
			</div>
		</div>
	</div>
</section>
The section image
The section image should be replaced both by same image, this theme uses css to make the first image grey and scroll it above the other to make the image lightup effect, you don’t need to edit the images in photoshop or any other program to fit them.
<div class="image-effect">
	<div><img src="img/3.png" /></div>
	<div><img src="img/3.png" /></div>
</div>
The section carousel
The section carousel indicators must be the same count as the total testimonials you wish to show, the data-slide-to indicates which slide to move to , 0 for first, 1 for second and so on…
<ol class="carousel-indicators">
	<li data-target="#lp-carousel" data-slide-to="0" class="active"></li>
	<li data-target="#lp-carousel" data-slide-to="1"></li>
	<li data-target="#lp-carousel" data-slide-to="2"></li>
	<li data-target="#lp-carousel" data-slide-to="3"></li>
</ol>
The section carousel item text and image must be replaced, you can add as many as you like, just duplicate the html below under each other
Note: The active class must be added to the item you want to be first shown, if you don’t have any specific item, removing active class will show the first item by default.
<div class="item active">
	<div class="item-image" style="background-image:url(YOUR_IMAGE_URL)"></div>
	<div class="item-content">TEXT
		<div class="item-name">TEXT NAME</div>
	</div>
</div>
If you would like to edit the color, font, or style of any elements in one of these columns, you need to edit colors.css which includes the section for colors, images, and fonts:
/**
 * fonts
 */
 body {
     font-family: 'Source Sans Pro', sans-serif;
 }
 h1, h2, h3, h4, h5, h6, .header-font, #register-form button,
 .btn.btn-default, .masthead-nav>li>a, .carousel-inner div.item .item-content:after{
     font-family: 'Arya', sans-serif;
 }
This theme uses ‘Source Sans Pro’ for the text and ‘Arya’ for the headings, both are free fonts from google fonts.
B) CSS Files and Structure – top
I’m using 5 CSS files in this theme, 2 major and 1 for bootstrap, 1 for fontawesome and 1 for an IE 10 bug fix when using view port.
The main styles as in styles.css which contains all of the specific stylings for the page, the customizations are in colors.css in which you can customize the colors, fonts and images
The styles in the main css file (styles.css) is broken into sections which controls the styles of each section.
Example:
/*
 * Header
 */

.masthead-brand {
    margin-top: 10px;
    margin-bottom: 10px;
    text-align: center;
}
.....
The mobile styles are at the end of the styles.css file
C) JavaScript – top
This theme imports three Javascript files.
- jQuery
- jQuery Scrollify
- jQuery Waypoints
- jQuery is a Javascript library that greatly reduces the amount of code that you must write.
- jQuery Scrollify is a Javascript library that controls the scrolling from section to another.
- jQuery Waypoints is a Javascript library that notifies when the scrolling reaches a specific section, which controll the flipping and the text inside the form back.
- The animations on this template is all via css and nothing in js is used to animate except the scrolling.
D) MailChimp Integration – top
Edit the config.php file, the mailchimp integration requires php5 or greater version to be installed:
/**
 * Enable or disable mailchimp, Incase you disable, you will get the lead via email
 *
 * http://kb.mailchimp.com/accounts/management/about-api-keys/#Find-or-Generate-Your-API-Key
 */
define('MAILCHIMP_ENABLE', true);
define('MAILCHIMP_API_KEY', '_YOUR_MAILCHIMP_KEY');
define('MAILCHIMP_LIST_ID', '_YOUR_MAILCHIMP_LIST_ID');
Visit the url to get your mailchimp apikey: http://kb.mailchimp.com/accounts/management/about-api-keys/#Find-or-Generate-Your-API-Key
Open the list you want to save the subscribers at mailchimp and click integration, copy the list ID and replace _YOUR_MAILCHIMP_LIST_ID with it.
E) Google Nocaptcha Setup – top
Edit the config.php file, and edit the fields required to enable or disable the nocaptcha, if you require to enable the nocaptcha, then you should also enable it from the index.html file on line 67:
/**
 * Enable or disable the captcha, you must also set the same value in index.html at line 66 show below:
 *   var enable_captcha = true;
 *
 * Signup http://www.google.com/recaptcha/admin
 */
define('NO_CAPTCHA_ENABLE', true);
define('NO_CAPTCHA_KEY', '_YOUR_CAPTCHA_KEY');
define('NO_CAPTCHA_SECRET', '_YOUR_CAPTCHA_SECRET');
Visit the url to get your nocaptcha keys: http://www.google.com/recaptcha/admin
F) Analytics (Goals, UTM’s and Events) – top
Goals
The form is already set to fire a goal ‘/thankyou’ once the submission is successfull, you can setup the goal following this article: https://blog.kissmetrics.com/critical-goal-types/
The goal must be a URL type with value ‘/thankyou’, if you aquire to change the value, please edit scripts.js in the js folder on line 148
var path = location.pathname.substring(location.pathname.length-1, location.pathname.length) == "/" ? location.pathname + "thankyou" : location.pathname + "/thankyou";
ga('send', {
	hitType: 'pageview',
	page: path
});
UTM Tracking
The form has already a cookie to record and pass UTM paramters to the form lead and pass them to the email, no special setup is needed.
The utm tracking script is under the js folder “analytics.js”
Events
The landing page tracks click events by default and send them to google analytics, you can disable the tracking by setting enable_event_tracking to false
<script>

    var enable_event_tracking = true;

</script>